Nail Art For Beginners Biography
Source(google.com.pk)
I've put together this page to help anyone and everyone who would like some help at getting better at nail art. I'll try to make this as informative as possible.
Use your browser's "find" button to jump to a topic:
1. Start out simple
2. Alternative tools
3. Plan designs
4. If you mess up
5. White and black polishes are good for nail art
6. Keep your design at it's best
7. Where to buy nail art brushes
8. How to use dotting tools
9. How to do the "Other Hand"/ How to draw stripes
#1- Start out simple.
Don't try to do more than you can do. Everyone has to start somewhere. So my advice is don't go into it thinking you can instantly be Robin Moses, and instead start slow and grow from there.
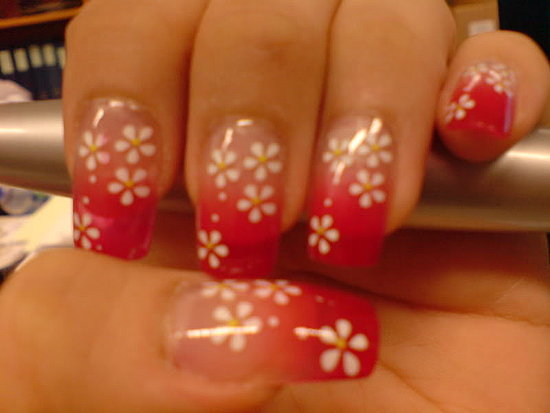
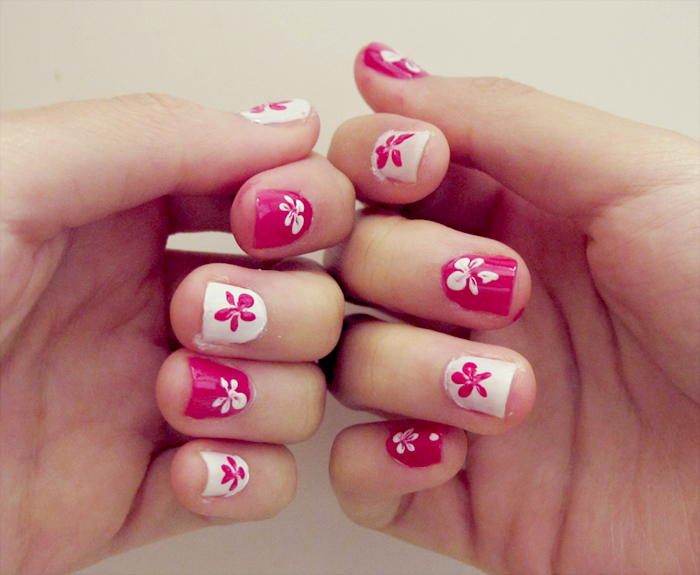
A good place to start is by doing simpler things like polka dots, tips, leopard print, etc. Below are some examples of nail art that I have done that would be good practice.
When I started out with nail art, I looked to tutorials and videos to help me out. It's hard to create nail art with no inspiration. Cute Polish has great tutorials on Youtube. I also have easy to follow photo tutorials here.
I also recommend trying different things like tape manicures, water marbling, and stamping. You may not be the best at every method but it's good to try different things to see what you like.
No one is perfect, and no one's nail art is either! Get comfortable with creating basic designs and then get into more complex things.
#2- Don't be afraid to use alternative tools.
If you don't have nail art brushes/tools, don't worry. Maybe you can't afford them at the moment, or maybe you just don't own any.
A good alternative for nail art brushes are striper polishes. Things like L.A. Colors Art Deco polishes or Milani striper polishes. You can buy them in several colors like black, white, red, or you can buy one and just clean off the brush everytime you want to use them in normal nail polishes.
Even now, that is how I do all my nail art. I take the brush out of my art deco brush and then I remove the excess....
Afterwards I'll dip it into my desired nail polish.
Then I'll draw my design.
And be sure to clean it off with nail polish remover before putting the brush back in the original art deco polish!
When it comes to dotting tools, there are many, many alternatives. A really good one is the end of a bobby pin. Take it apart and use it for dipping into polish and creating perfect dots.
If you want something smaller, a tooth pick works well too. Here is an older design I created on my nails where I used a toothpick for all the dots:
I found that pencils and the end of a q-tip work also, if you want different sizes.
To find out where you can buy nail art brushes and dotting tools, read #7.
#3- Plan designs ahead of time.
It's always a good idea to know what you want to do, before you do it. A good way to do this is drawing out a small sketch of what you want the finished look to be. That way while you are doing your nails, you can look at your sketch for reference.
I also like to write out the colors or specific polishes that I want.
It may be weird, but it helps!
#4- If you mess up, you don't have to start over.
Occasionally you'll do a design and something comes out wrong, or not as straight, or maybe the dots are bigger than you wanted. Don't give up and start over!
First, try to find a way around it. For example, if the stripe goes somewhere that you didn't want, fix it by doing an entirely different, but still cute design. (See below)
Note that this design was made for this guide's sake and is not meant to look perfect.
Or maybe you accidentally put a spot on your nail. Go back in with a brush and lightly brush over it, or again, fill it in and do a different design. (See below)
There are many other ways to fix a design. Just know that before giving up and starting over on all your time and hard work.
#5-Which white and black polishes are good for nail art?
There are a number of brands that carry great ones! You can use these as a base for a great design or to create details. Below I've listed a few.
Whites: Wet N Wild Wild Shine French White Creme (highly recommended!), Sinful Colors White On White, Sally Hansen Xtreme Wear White On
Blacks: Wet N Wild Wild Shine Black Creme, Sinful Colors Black on Black (Highly recommended!), Rimmel London Black Satin, L.A. Colors Black Velvet
#6- Keep your design at it's best.
Two important things when it comes to a finished design; cleaning up mistakes and locking in your manicure with top coat.
For clean-up, you want to make sure the edges and cuticles are free of polish so that the nail art is the main focus, not your edges. For a good clean-up method, check out this post by Lacquerized.
As for locking in your design, you want to do this the safe way. Make sure your nails are at the very least 60% dry before applying top coat, otherwise you risk "dragging" the polish with the topcoat.
I normally wait about 30-45 minutes to let my nails dry completely and then go on with daily activities.
#7- Where to buy nail art brushes, dotting tools and loose glitter.
Ebay or Born Pretty for all of these.
You can find each one of these either in a set or single for around $1-$8. Sometimes more, sometimes less.
A few recommended Ebay sellers are bigkeyboard and win88.
#8- How to use dotting tools
The easiest way to explain this is by showing you.
You want to use a piece of paper or just anything that you don't mind getting messy and drop some polish on it.
(Polish is Savvy Chocolate)
Take your dotting tool and dip it into the polish, dip it straight (not angled)...
And then onto your nail...
Also make sure to drop more polish as needed. Using the polish once it has become very thick will make the polish leave strings behind (see below).
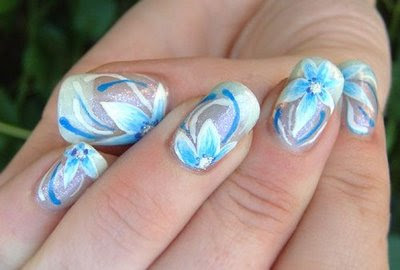
#9- How to Do the "Other Hand"/ How to Draw Stripes
This is a common concern for beginners. How do you possibly get your beautiful, striped design to look equally as good on your non-dominant hand? It's not as hard as you think!
The best way to do it is to rest your hand, on the table you are working on, as you hold your nail art brush. Then slowly and carefully start on the design.
It also helps to move your finger instead of your brush. This will create straighter stripes.


.jpg)
.jpg)


